How to Draw with a Mechanical Pencil
Updated: 16 Jul 2026
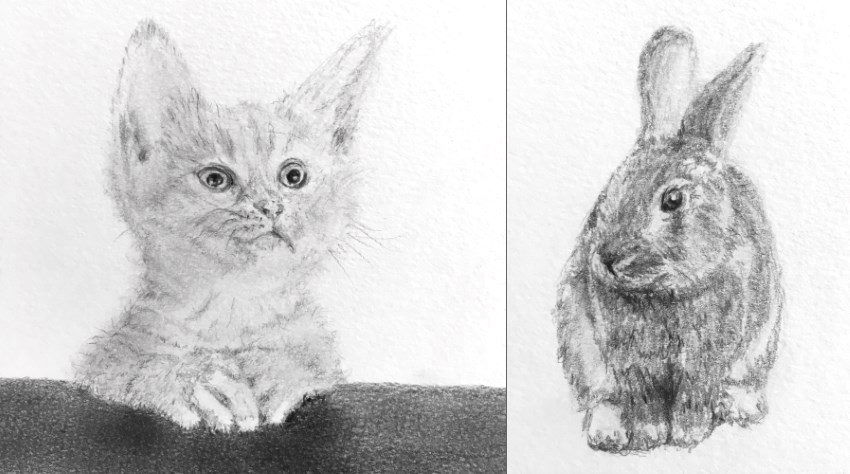
A mechanical pencil is a precise, versatile tool designed for consistent line work and fine detail without the need for constant sharpening. In this tutorial, we will explore both the why and the how of mastering the mechanical pencil for your artwork.
I recommend reading my realistic drawing guide before reading this article.
Disclosure: some links in this article are affiliate links, meaning, at no additional cost to you, I will earn a commission if you choose to make a purchase.
When, Why, and How to Use a Mechanical Pencil
When to use it:
When you need a compact, portable tool for drawing or sketching that you can carry anywhere with no maintenance, a mechanical pencil is one of the top choices.
A mechanical pencil never needs to be sharpened. In addition, the ability to erase gives it a clear advantage over other sketching tools.
Why use a mechanical pencil:
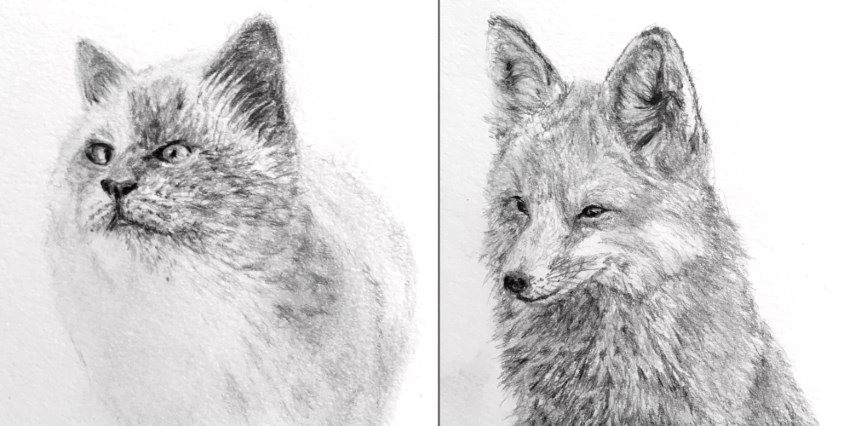
Besides being durable and easy to carry anywhere, a mechanical pencil is excellent for daily practice, planning compositions, or exploring concept art.
While it may not produce the same high-quality finished drawings as traditional wooden graphite pencils, it is a fast and efficient way to create quick sketches.
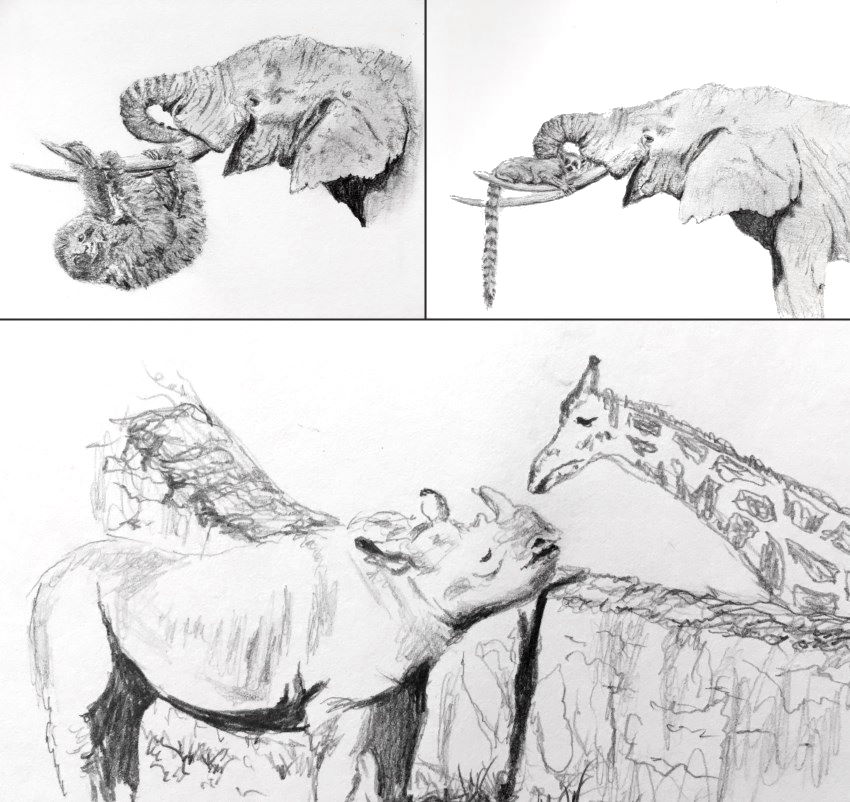
When using a mechanical pencil with a thick graphite stick, it can be used effectively for shading.
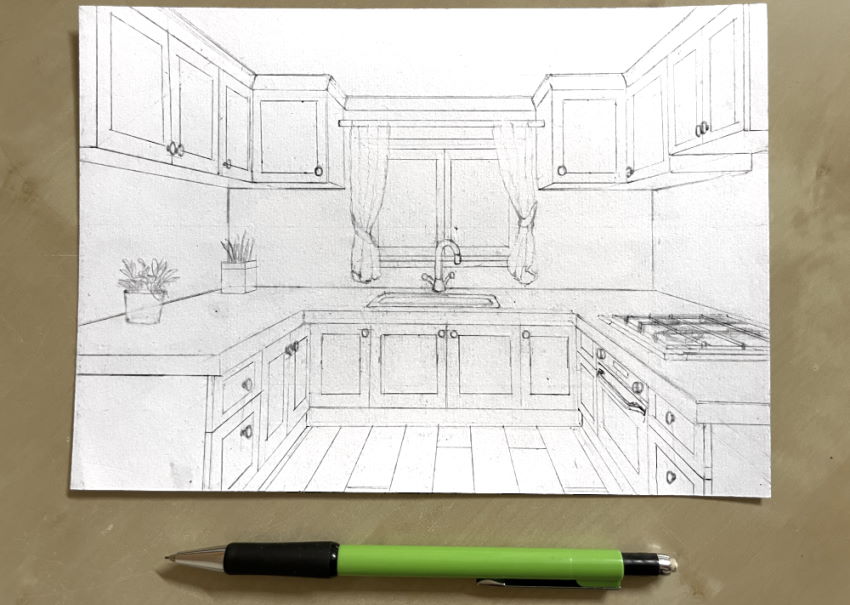
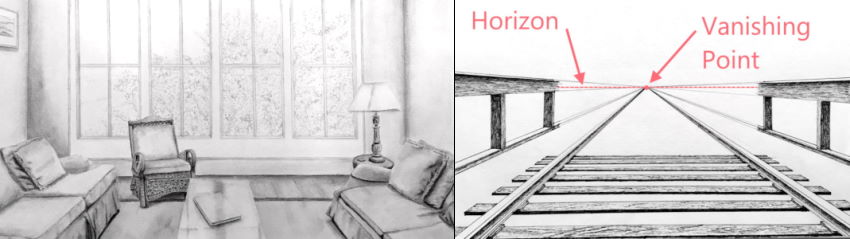
Another use for a mechanical pencil is in perspective drawing, as it is very convenient to use with rulers.
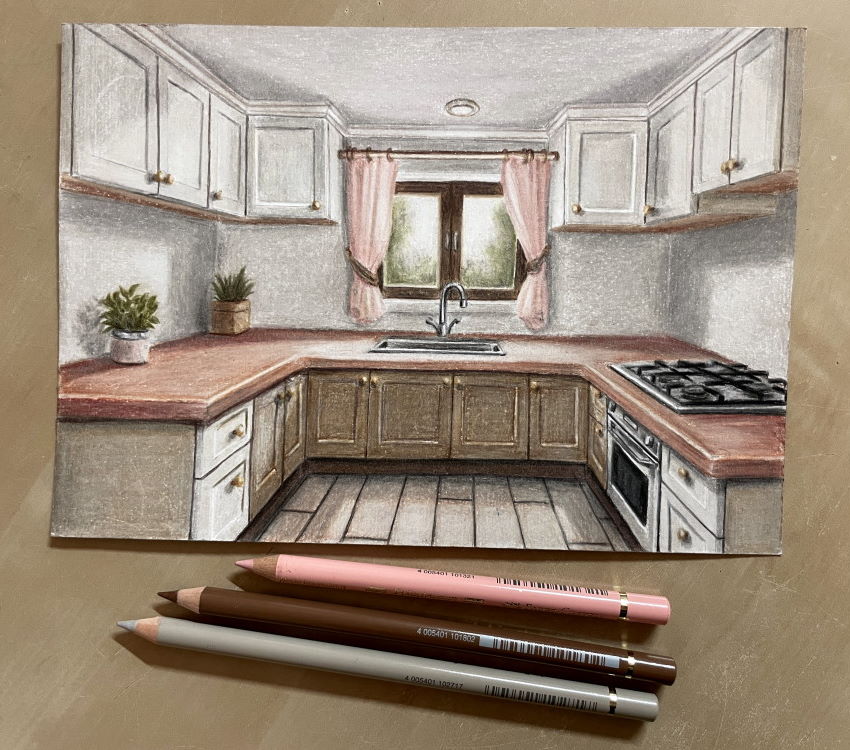
My favorite rendering style is realism. Here is my realistic painting guide.
For learning to draw in perspective, visit my perspective drawing guide.
How to draw with a mechanical pencil:
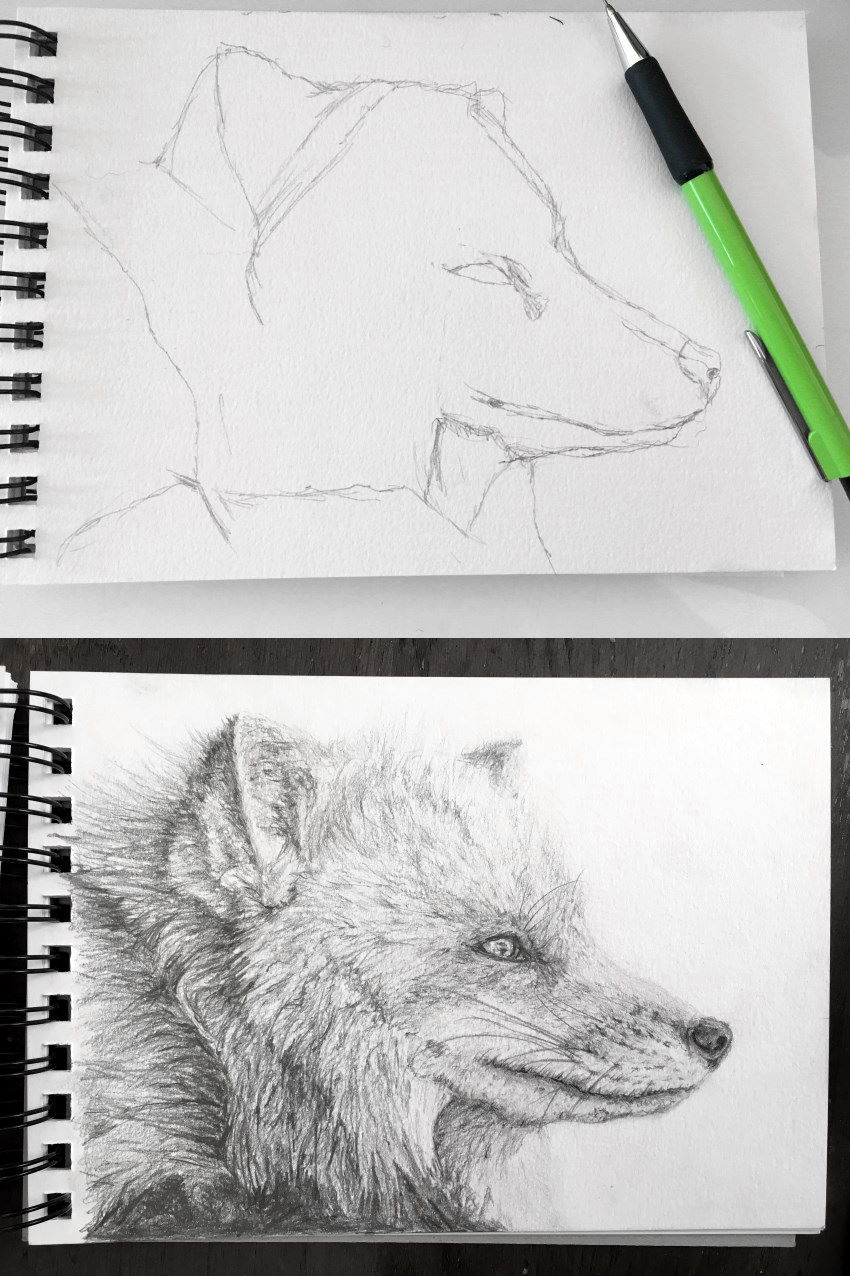
The steps for drawing with a mechanical pencil are similar to any realistic drawing process. First, draw the form by sketching the basic shape, paying close attention to your perspective and proportions.
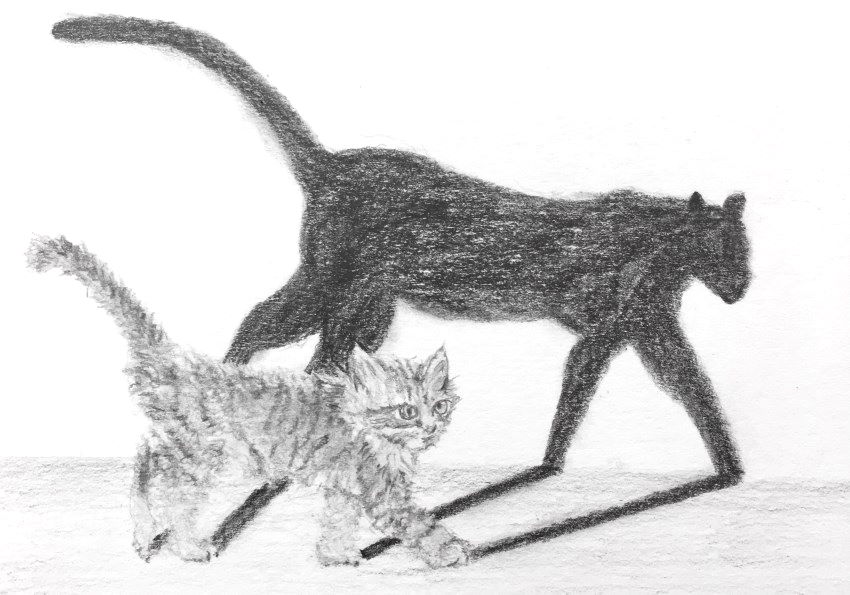
Next, the key is accuracy with brightness values. This means carefully noticing how dark or light each part of your reference object is.
When working with a single mechanical pencil, pressing hard results in dark values, while pressing gently produces light values.
The final step is to add details and refine your sketch.
Which Mechanical Pencil I Use
For this tutorial, I used the Faber-Castell Grip 1347.
Thickness: 0.7 mm
Hardness grade: B
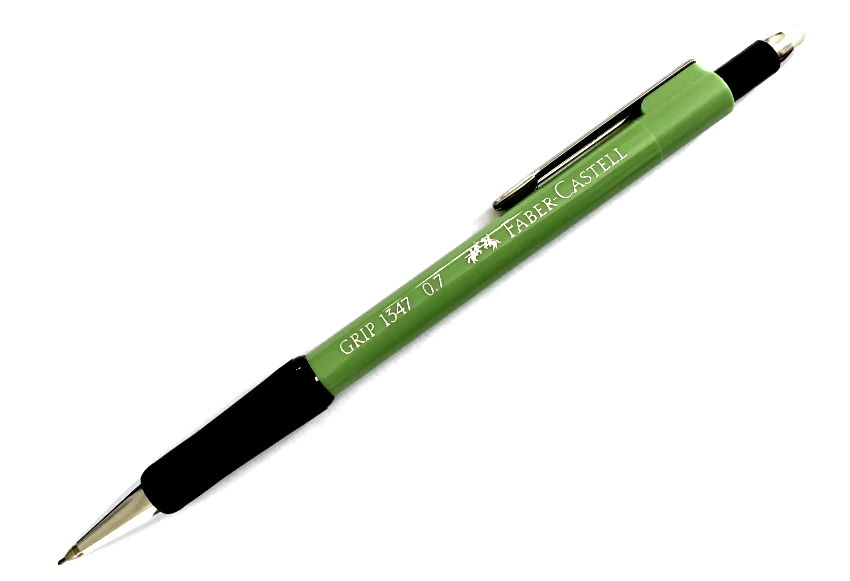
A 0.7 mm graphite stick is not designed for fine details, but it is great for quick sketching.
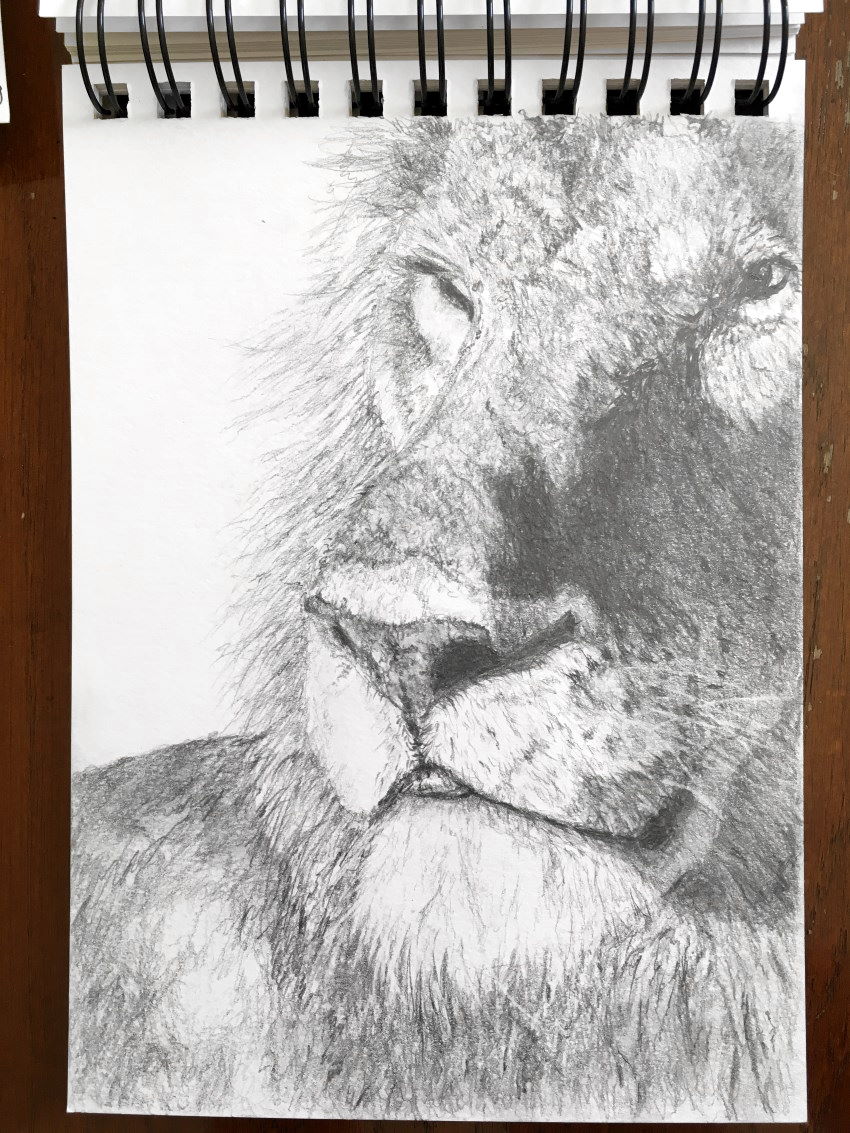
Keep in mind that quality mechanical pencils come with a quality eraser. Since this eraser is small, it is excellent for creating fine highlights and details, such as hair. In this example, I used the eraser to draw the lion's whiskers.
For a complete list of the equipment I use, read my pencil drawing supply review.
How Long It Takes to Sketch
It depends entirely on the size and the amount of detail. Quick sketches, like these, may take anywhere from several minutes to thirty minutes.
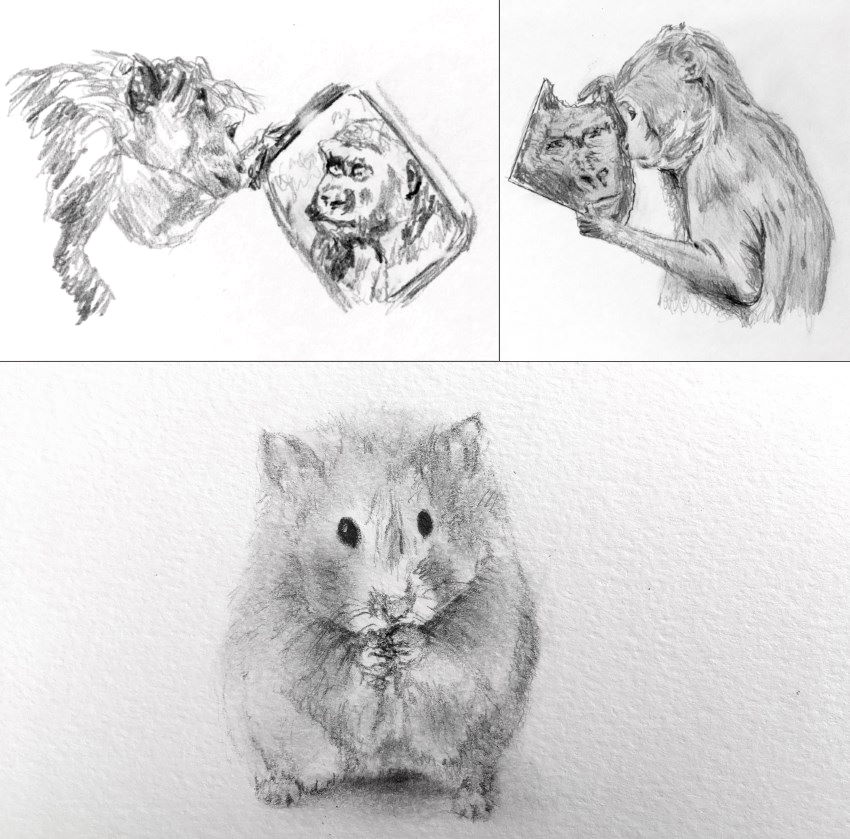
When drawing a more detailed study, two to four hours is a reasonable time to spend on a sketch.
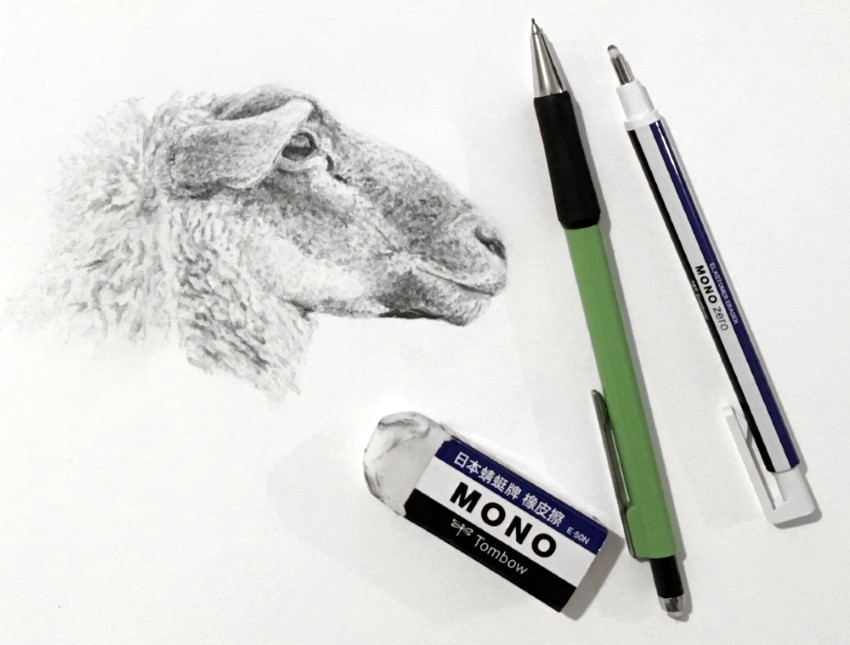
To learn how I draw various types of textures, visit my texture drawing guide.
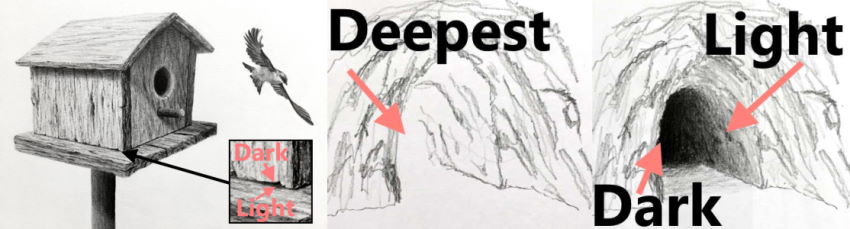
What Else Can You Do with Mechanical Pencils
I usually use a mechanical pencil when I teach. It is a quick and effective tool to show how to draw from life. When drawing from direct observation, make sure to pay close attention to foreshortening.
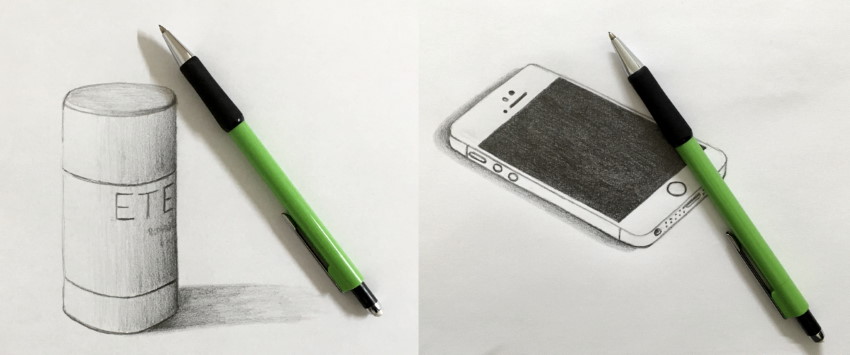
Also, it is perfect for a quick study of a still-life sketch from observation.
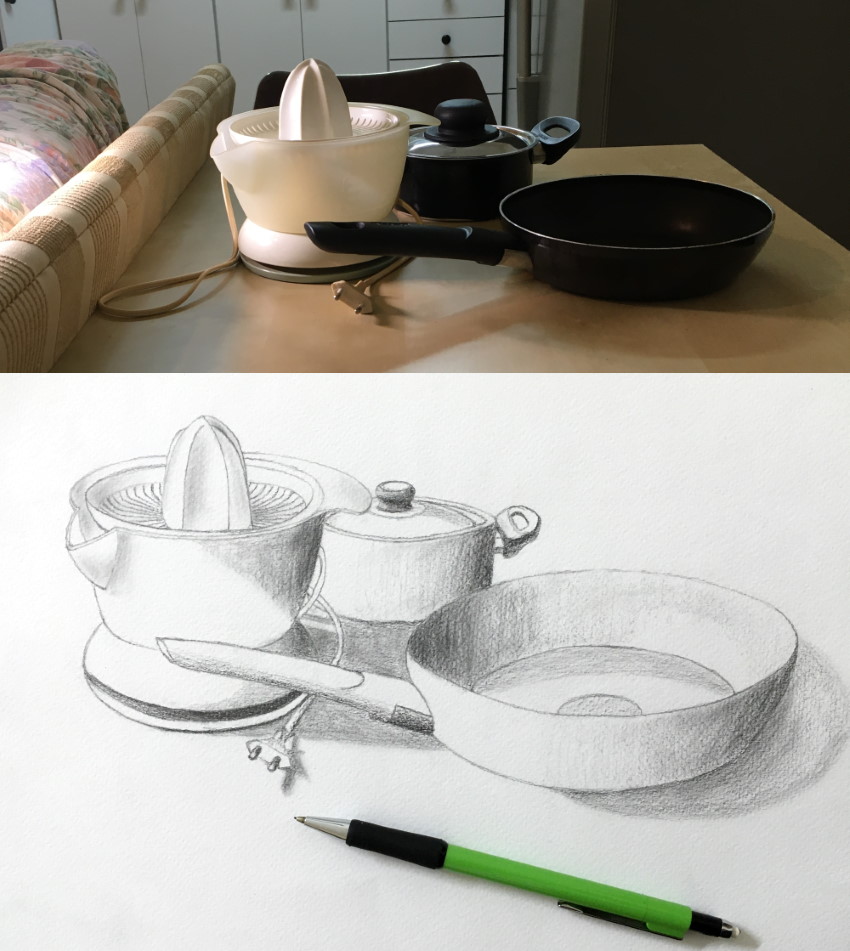
If you are not sure how to compose a still-life scene and render it, read my composition-drawing guide.
Any diagram or representation of a process is a good subject for mechanical pencil drawing.
In the next example, I used a mechanical pencil to draw a tree with some points on things to pay attention to.
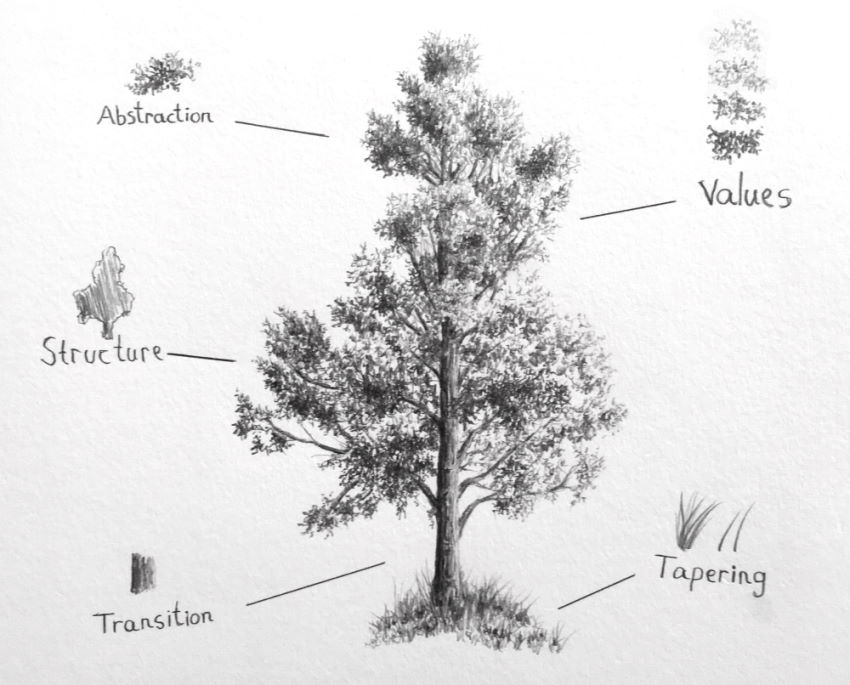
Drawing trees can be simple. To learn more about it, visit my tree drawing guide.
Technical Pen vs. Mechanical Pencil
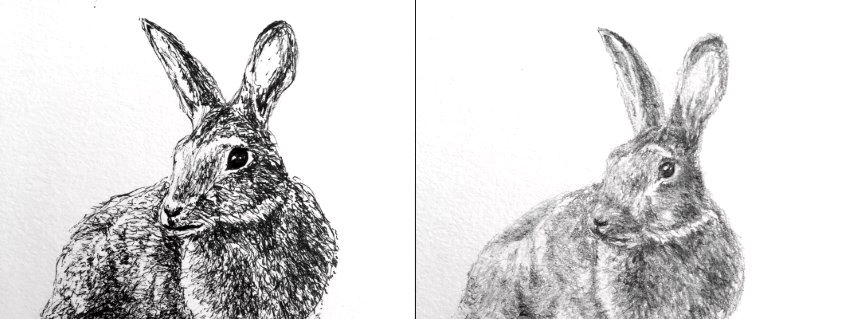 Pen vs. Pencil
A mechanical pencil is not the only option when it comes to sketching anywhere.
Another great option is a technical pen.
Advantages of a technical pen:
- It is permanent, meaning it does not smudge like graphite pencils.
- Graphite stick refills for mechanical pencils are made of polymers and are very strong, yet they can break if pressed too hard.
Disadvantages of a technical pen:
- It has a fixed brightness value, and therefore it is harder to draw dark and light areas.
- Not erasable, meaning you cannot fix mistakes.
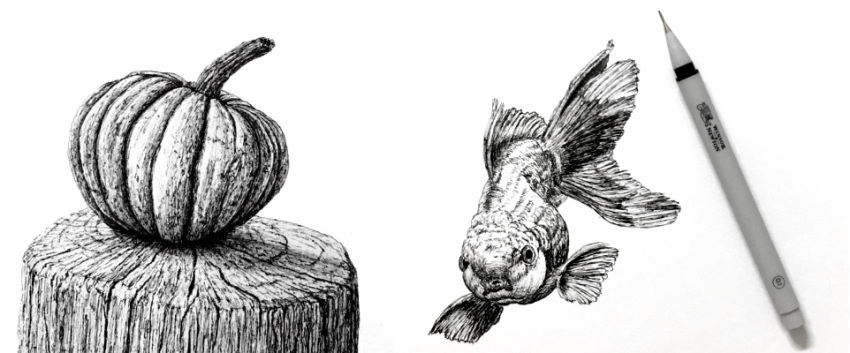
The key to drawing the illusion of different brightness values with a technical pen is to draw more lines in the same area for dark values and fewer lines for light values.
Technical pens can produce nice results. Here is an homage to a drawing from Affliction Clothing:
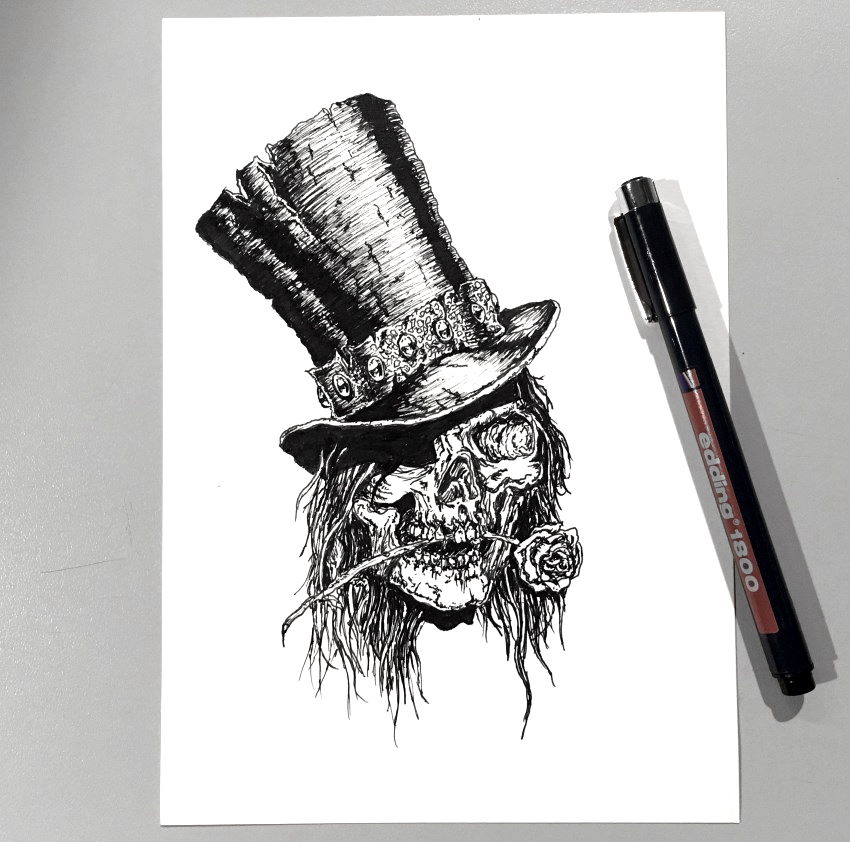
To see which pens I use, visit my technical pens review.
Summary
It is possible to draw anywhere. All you need is a mechanical pencil and something to draw on.
Here are my recommended types and brands of paper for drawing.
When I am not at my studio, I usually use my smartphone to look at reference photos to draw.
A mechanical pencil is:
- Mobile
- Durable
- In no need of sharpening
- Erasable
- Great for sketching
Additional Resources
If you like drawing with pens, visit my tutorial on how to draw flowers with pens.

To understand how to draw with a sense of depth and space, learn how to draw the illusion of depth.

For more drawing tutorials, check out my list of drawing channels on YouTube.