How to Draw from Observation
Updated: 18 Jun 2025
Drawing a form accurately is the most important aspect of realistic drawing.
In this guide, I demonstrate my process for drawing cartoon characters (or anything else) from observation.
To draw from direct observation (from life), visit my guide on composition drawing.
Table of contents:
How to draw accurately:
The actual drawing process:
Accuracy
The following are techniques I use to draw accurately from observation.
I draw cartoon characters because they are popular, and therefore drawing them must be precise, just like drawing a portrait.
1. Proportions
In some cases, the overall proportion is the first thing you want to check.
To do that, use your drawing tool (pencil in this case) as a measuring tool.
Use your finger (or nail) to mark a spot on it, and then check for proportions.
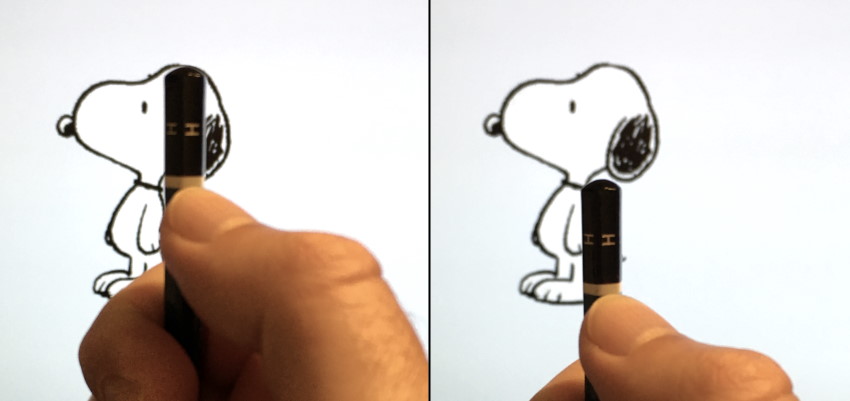
In the example above, the height of Snoopy's head is approximately the height of its body.
Mark some points on your drawing paper to make sure you draw it in proportion.
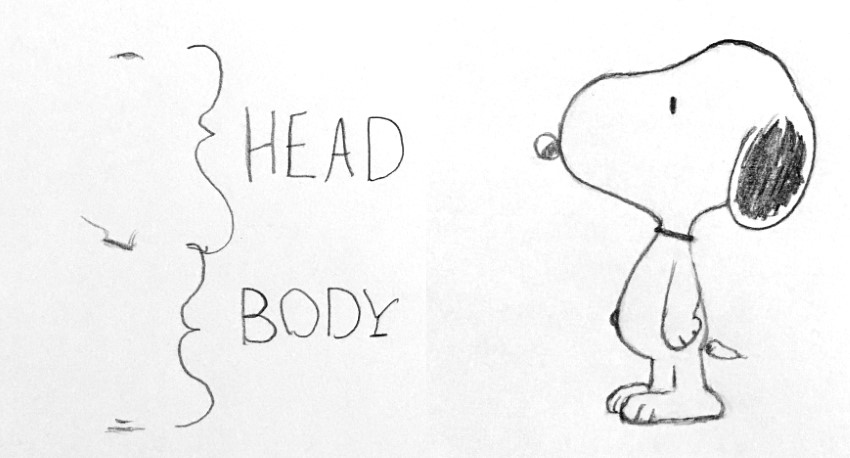
Plan for your drawing to fit inside the paper sheet.
Note:
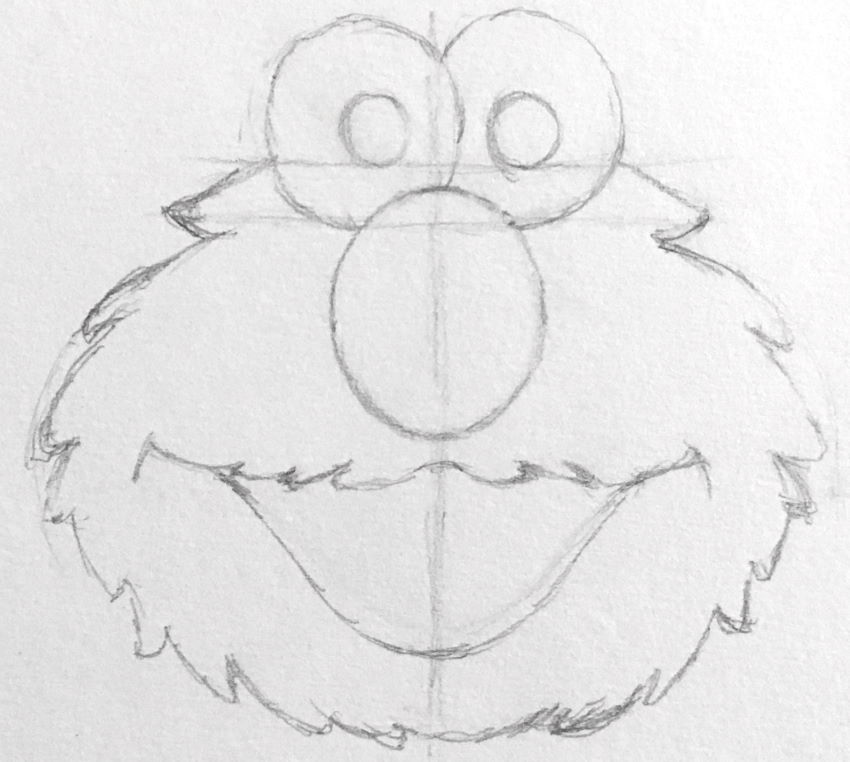
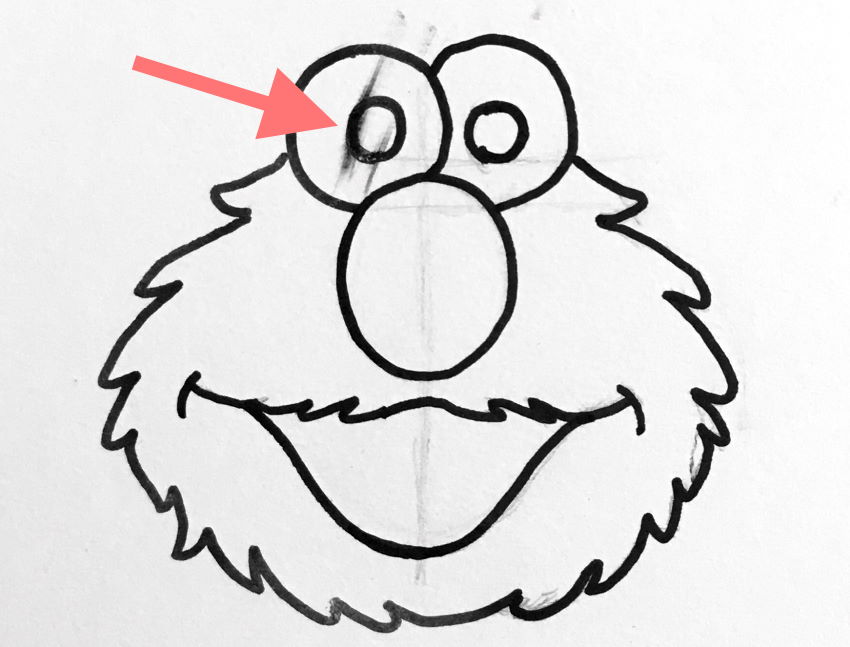
When dealing with a symmetrical object or character, draw a vertical line in the middle to divide the shape into two equal parts.
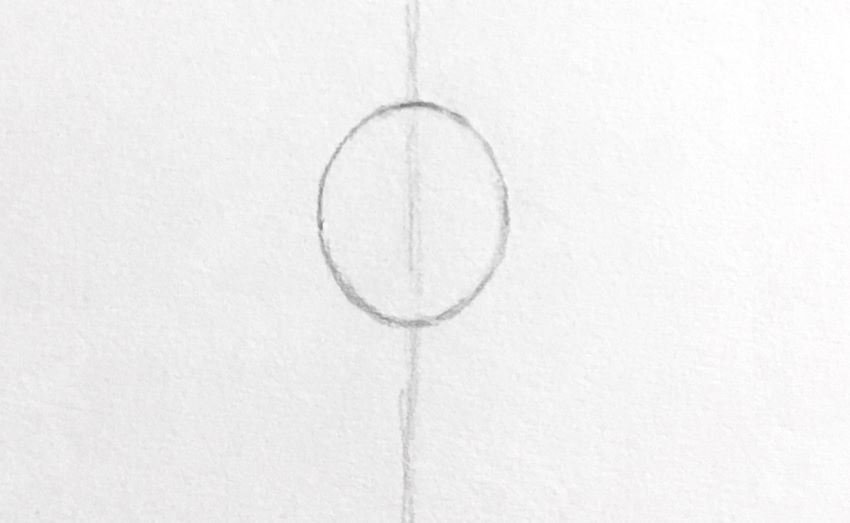
For parts that are at the same height, like eyes, you can draw horizontal lines.
2. Curved Lines
Many cartoon characters are collections of different types of curves.
Curves can be body parts, muscles, or objects (like hats).
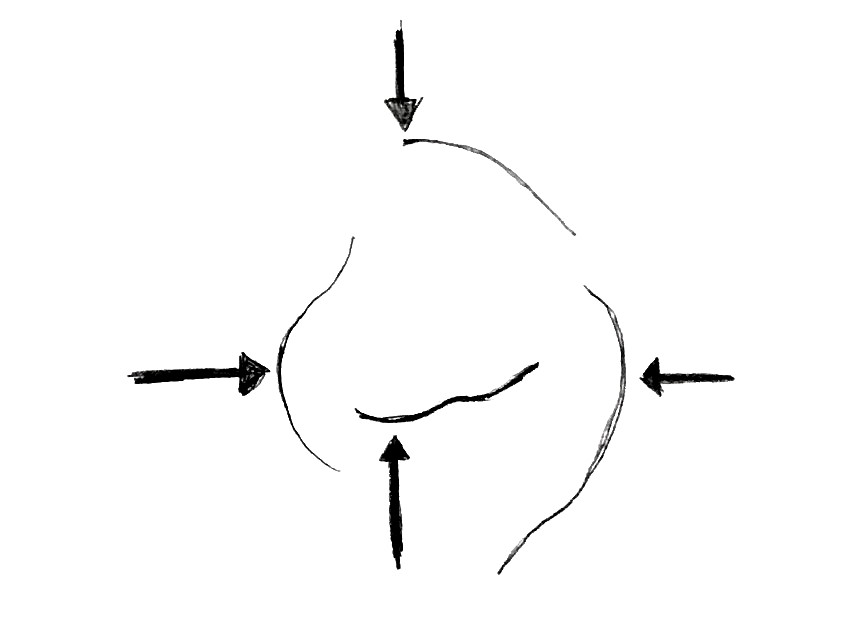
First, look at the direction of each curve (up, down, left, or right).

Then, find the tip of that curve (toward the direction of the curve).
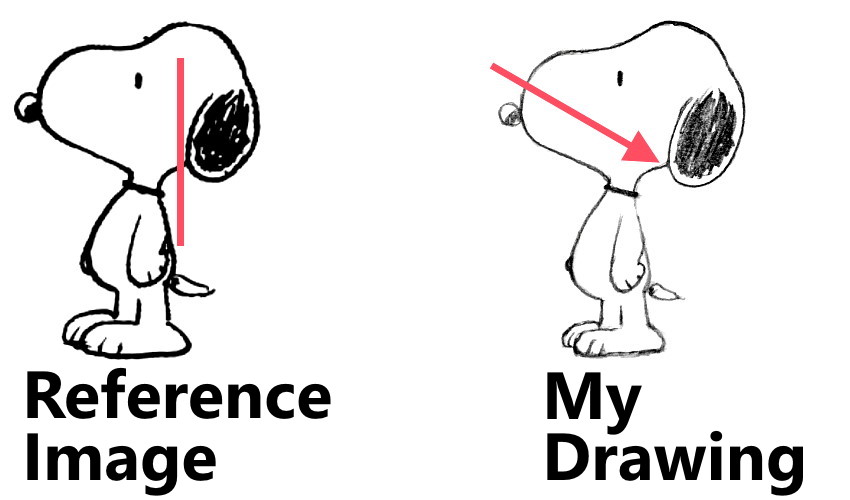
For Snoopy's left side of the ear, you can see that the tip in that direction is touching the neck.
If you do not pay attention to that, you may draw the tip of that curve in the middle of the ear instead of the bottom part.
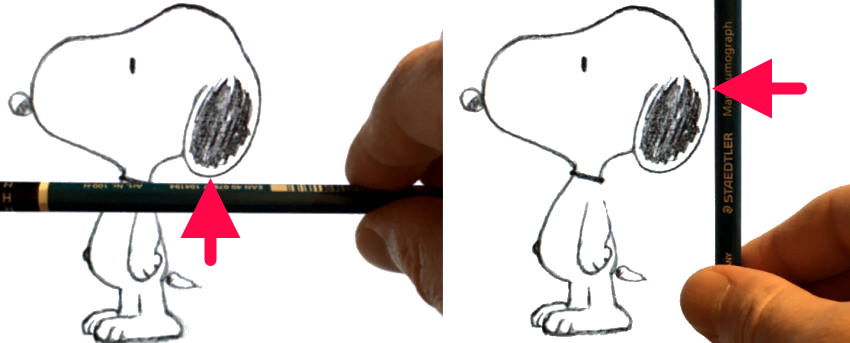
The same works for every curve. Hold your pencil (or pen) vertically or horizontally, and look at the tip of each curve.
You can see that Snoopy's belly is bulging not in the middle but more to the bottom.
The tip of the back is even lower, almost where it meets the leg.

3. Straight Lines
Again, use your drawing tool (pencil) as a measuring device. This time for angles.
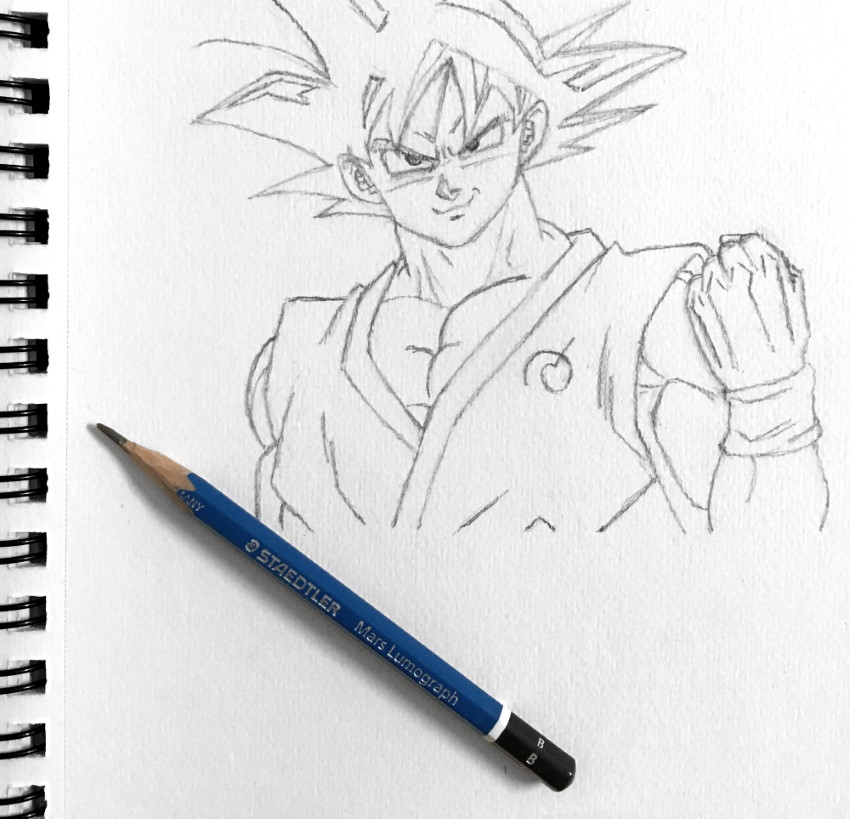
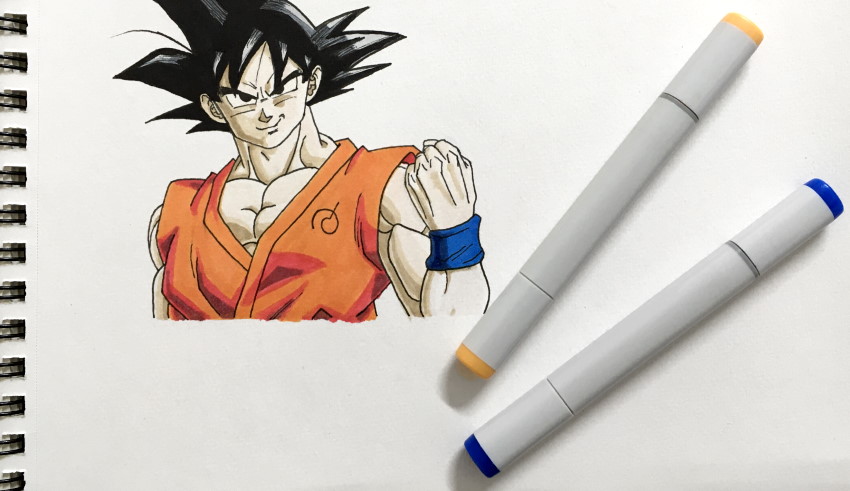
In the next example, I measured Goku's angle of eyes and then checked if my drawing was accurate.
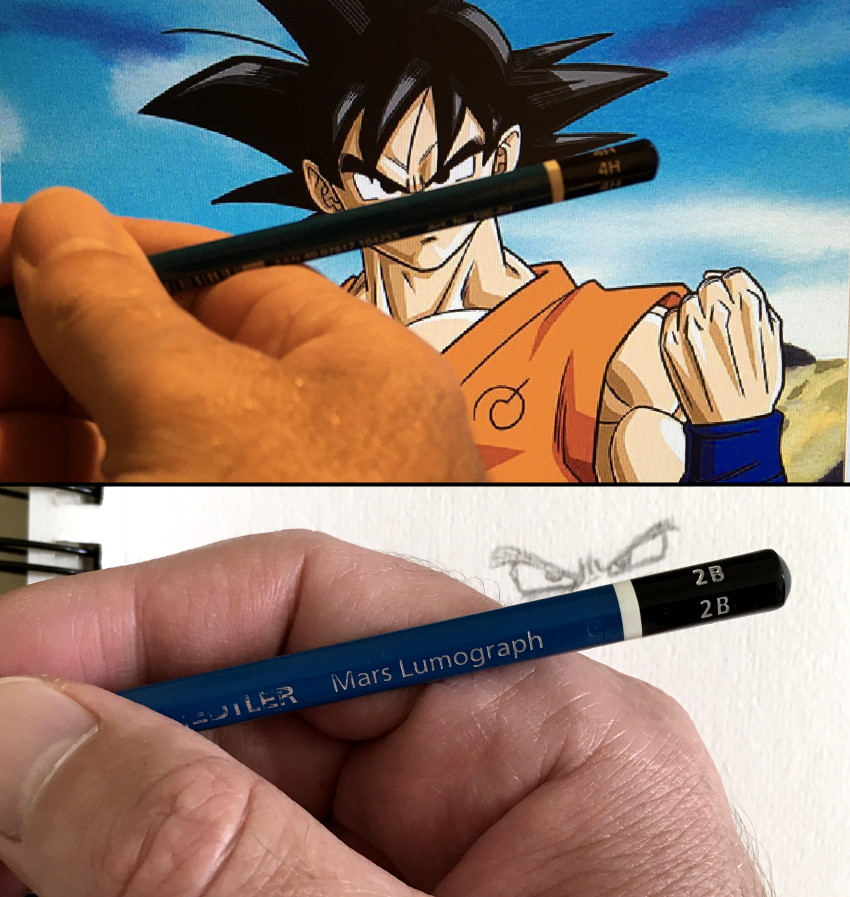
I did the same for each part I wanted to draw accurately.
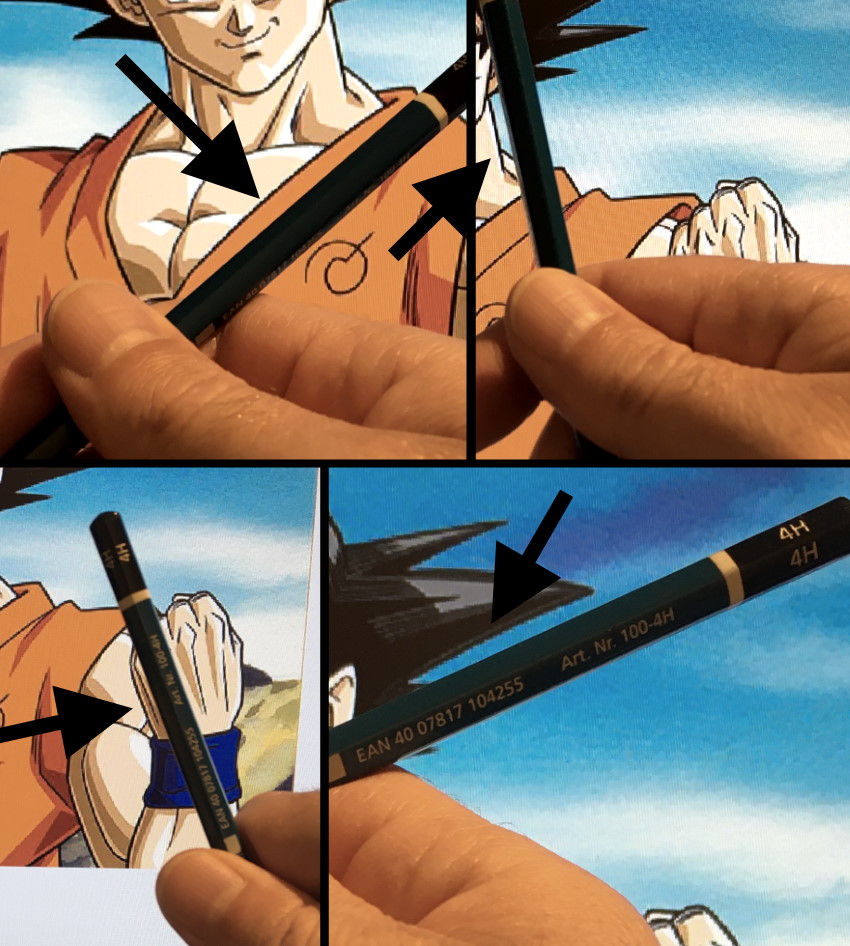
Instructions:
Close one eye when measuring angles (using a pencil).
Make sure to rotate the pencil left or right to find the angle.
Do not rotate the pencil forward or back. The world is three-dimensional, but your paper is two-dimensional (you cannot measure depth).
With time (and practice), you will see the angles without using a pencil to measure them.
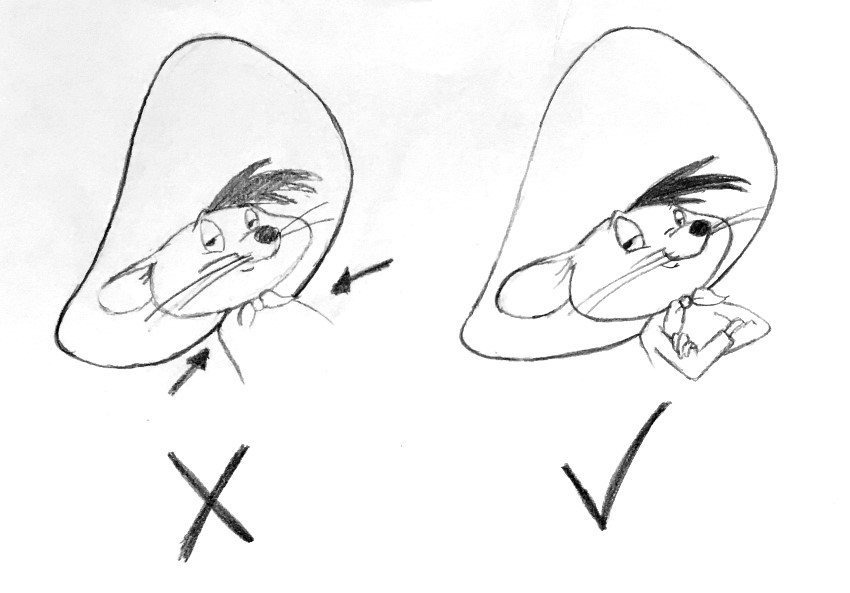
4. Continuity
When drawing, pay attention to overlapping.
Overlapping means an object that covers part of another object.
In the next example, Speedy Gonzales's head is overlapping its hat. The lines for the hat need to have continuity for it to look natural and correct.
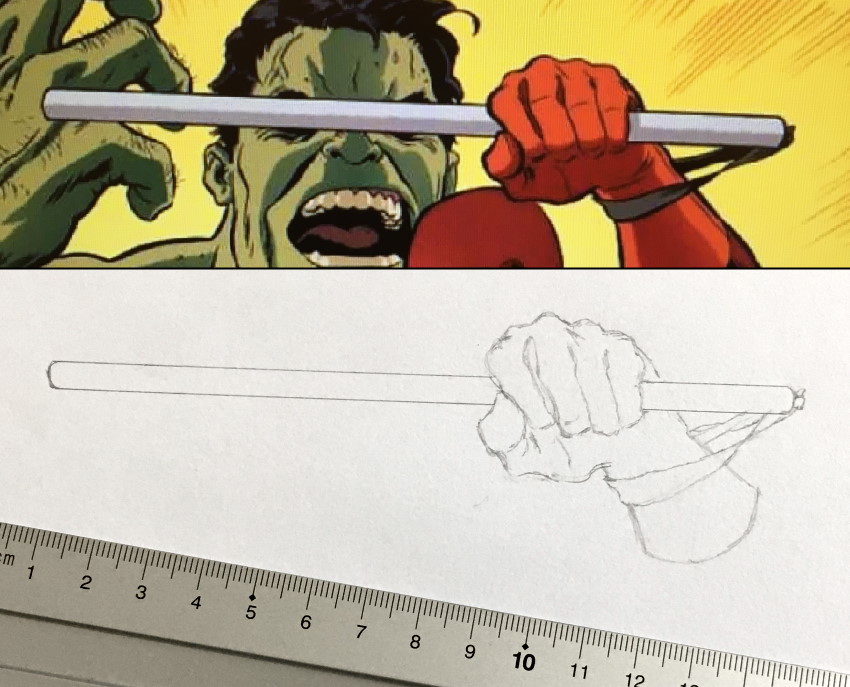
Often, objects (like weapons) are partially hidden by a body part (hand in this case).
One way is to draw the full object and then erase the part that is overlapped.
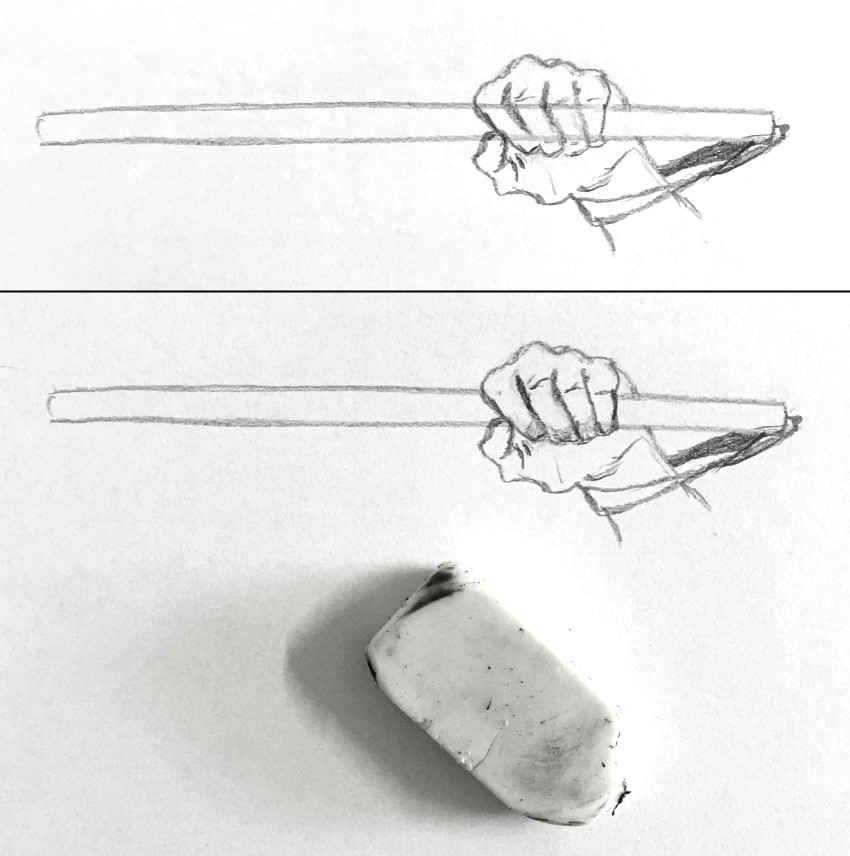
For straight objects, you can use a ruler.
While some cartoon characters do not have overlapping parts, some have many.
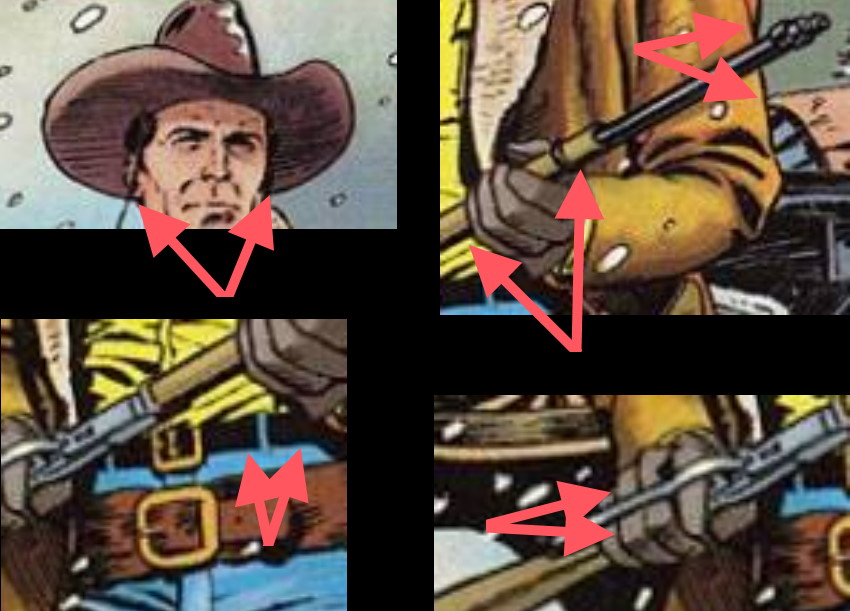
Tex Willer overlapping parts.
Drawing Process
Accuracy is the most important part of drawing!
Use the methods above to practice drawing accurately. The next 3 steps will guide you on how to draw and render your favorite cartoon characters.
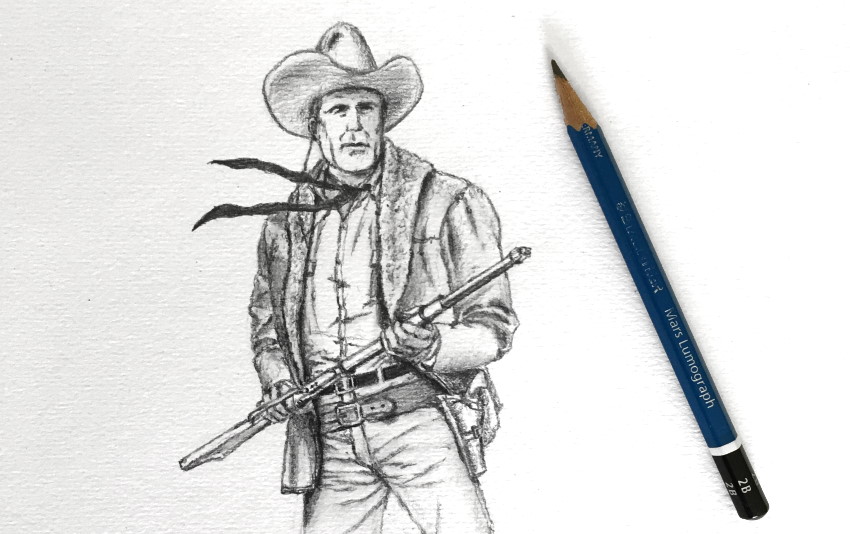
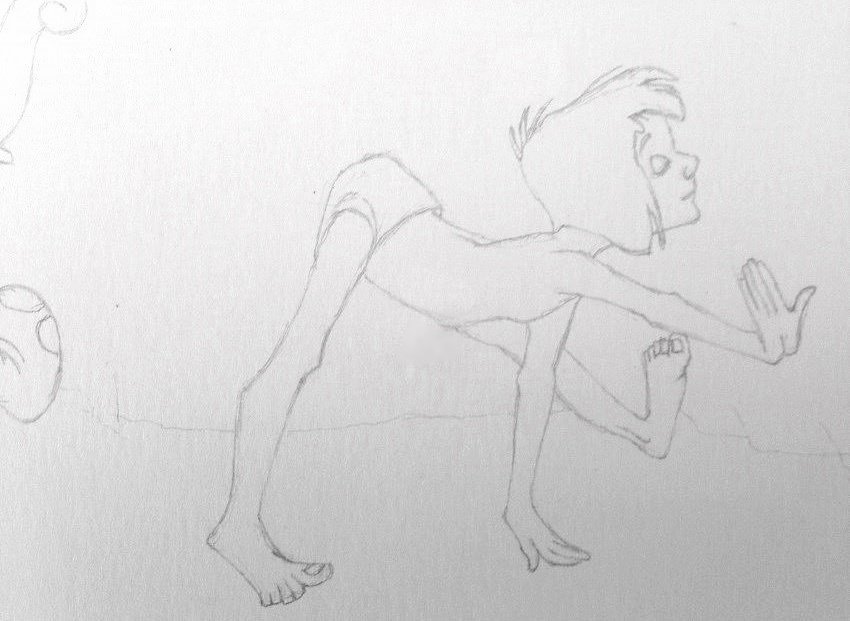
1. Pencil Drawing

First step is drawing with a pencil.
The pencil-drawing step is the hardest. Accuracy is the key to likeness.
The main advantage of drawing with a pencil is the ability to erase and correct mistakes.
Note:
It is important not to press hard while drawing in order to prevent any scars or dents on the drawing paper.
Drawing, erasing, and adjusting my sketch until it reaches the desired outcome.
Here is my drawing materials review.
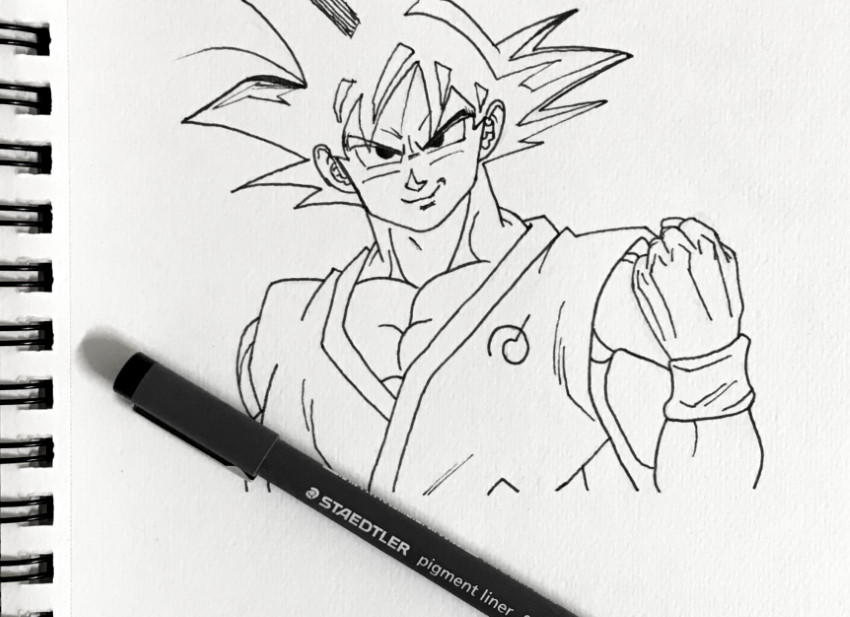
2. Pen Drawing
The second step is drawing with a technical pen.
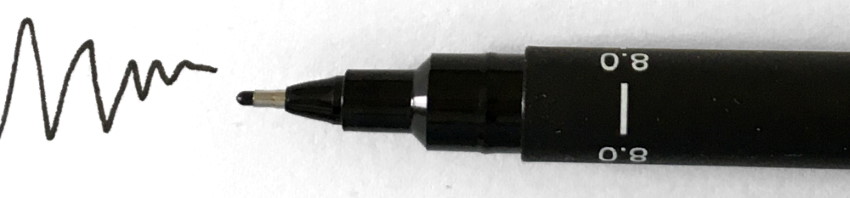
Technical pens (also fine liners) come with different nib sizes.
A smaller nib is great for small details, while a bigger nib is better for thicker contour lines.
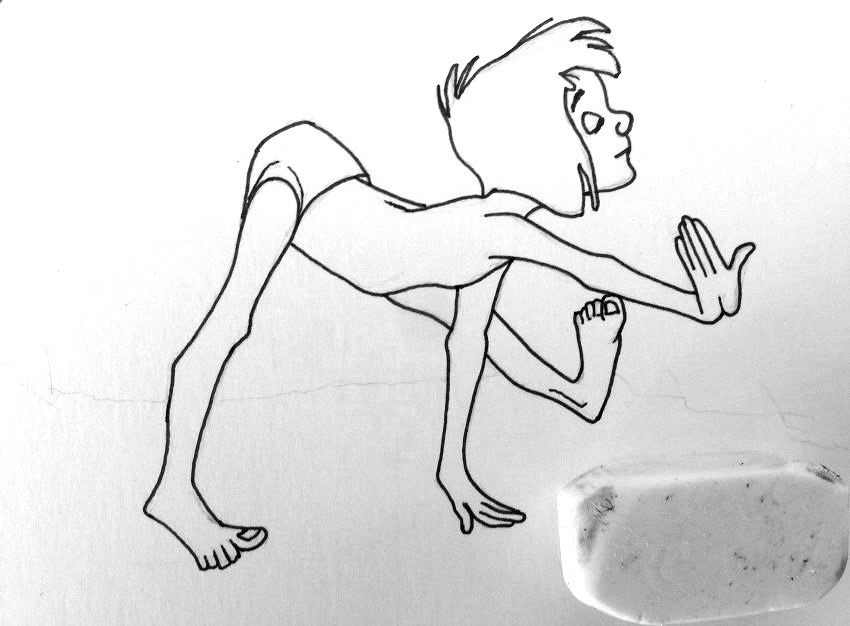
It takes around a minute (or less, depending on the pen brand and type of paper) for the pen's ink to dry. Only then is it safe to gently erase the pencil marks.
Pay attention:
Thick ink lines dry slower. Erasing pencil marks while the ink has not dried causes the ink to smudge.
With practice, it is possible to draw directly with a pen and disregard step 1.
The result at this step is a homemade coloring page.
If you are unfamiliar with drawing pens, you might want to check my guide for recommended drawing pens.
Remember:
By pressing gently when drawing with a pencil, it is easy to erase the pencil marks.
3. Painting with Markers
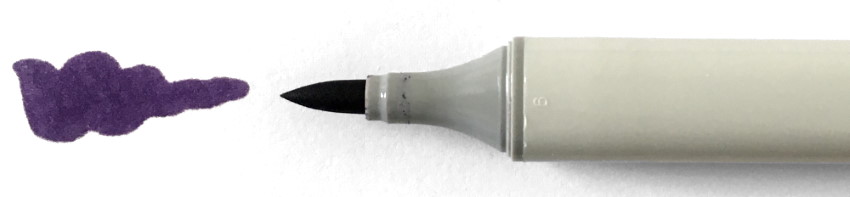
The last step is painting with markers (or any other medium).
Each cartoon character has its own unique colors.
If you want to paint accurately (faithful to the original character), you need to pay attention to 4 color attributes:
Hue - Color family (red, green, blue, orange, etc.).
Brightness Values - Also values or tone, how dark or light each color is.
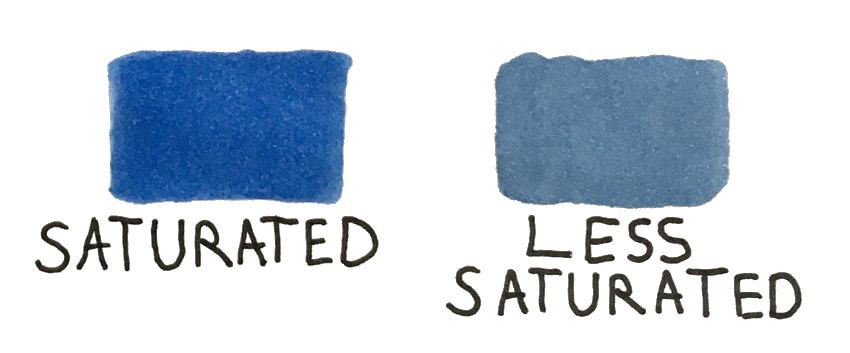
Saturation - How rich and intense each color is, or how dull and gray it is.
In this example, the colors have the same brightness value but with different saturation.
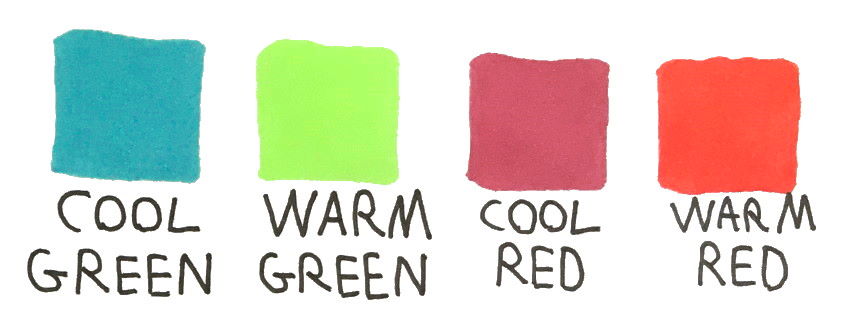
Temperature - Warm and cool colors.
Red, orange, and yellow are warm colors (they bring to mind fire).
Blue, green, and purple are cool colors (they bring to mind the ocean or wet grass).
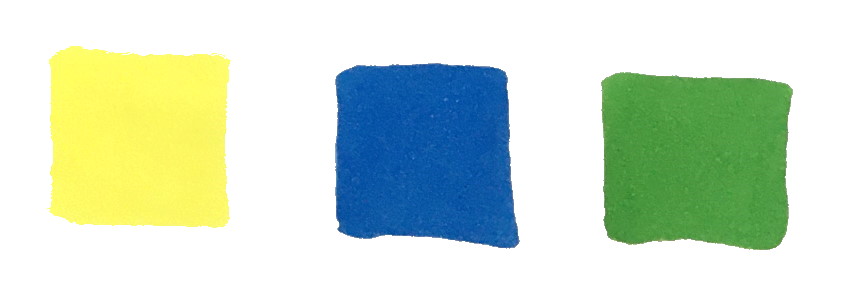
Each color can be warmer or cooler. In the next example, look at the cool green (with a blue tinge) and a warm green (with a yellow tinge).
Also, cool red (a bit purple) and warm red (a bit orange).
Some colors can be neutral, but in most cases, colors are a bit warm or a bit cool.
It depends on the object's pigments and on the color of light sources and reflections.
Even a gray color is mostly warm (a bit brownish) or cool (a bit bluish).
In the next example, the gray colors share the same brightness value (close your eyes partially to determine brightness values), but with different temperatures.

How to pick colors:
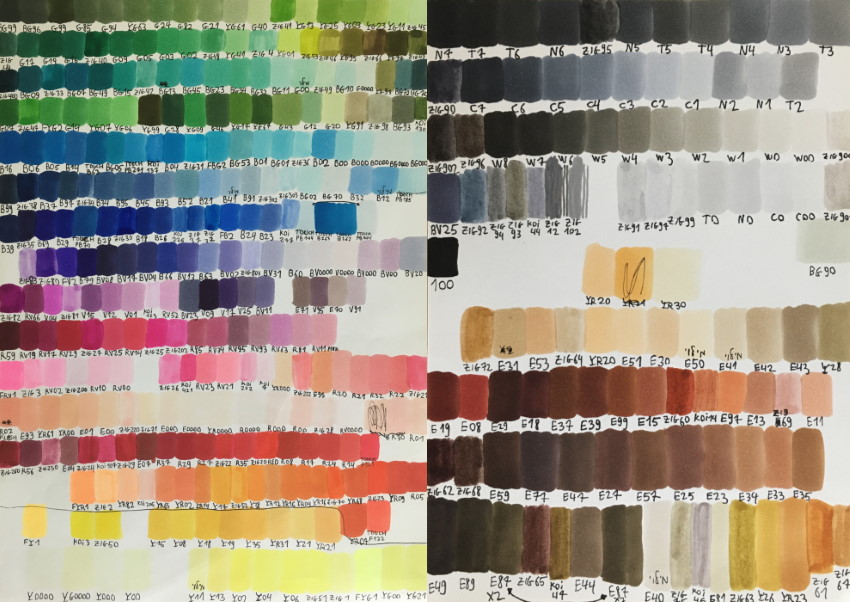
The color on the marker's body or cap is not necessarily the color that shows on paper.
It is very useful to create a palette (color chart) for all the markers you use.
Now it is easy to pick the right color.
After choosing the colors you want to use, it is time to paint your figures.
And paint the background too.
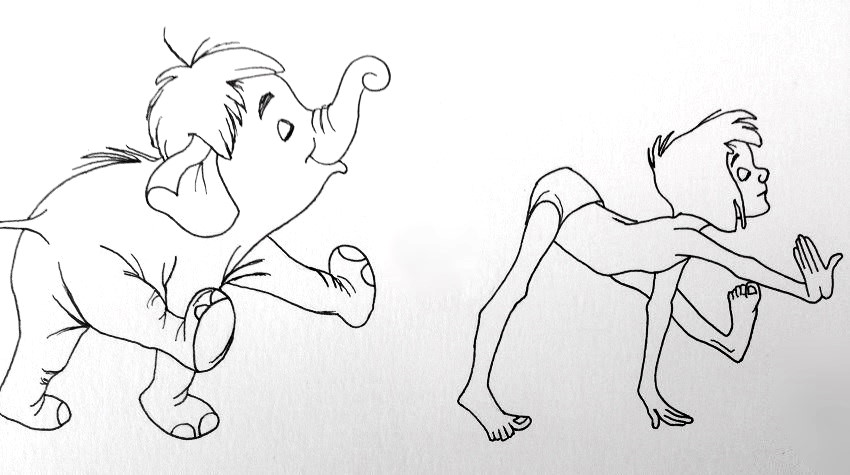
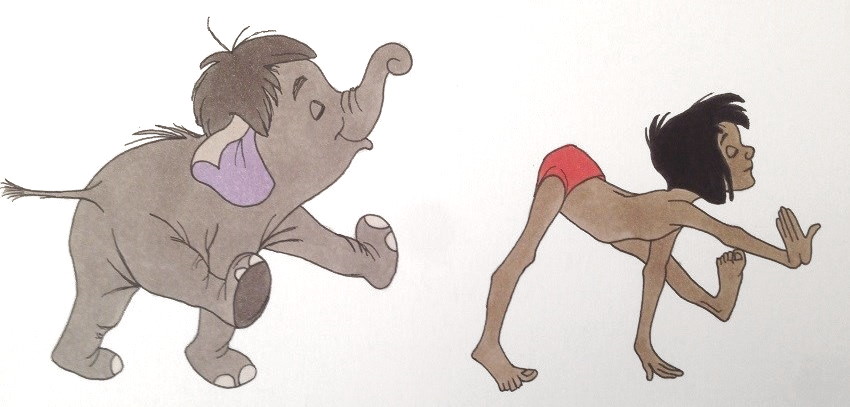
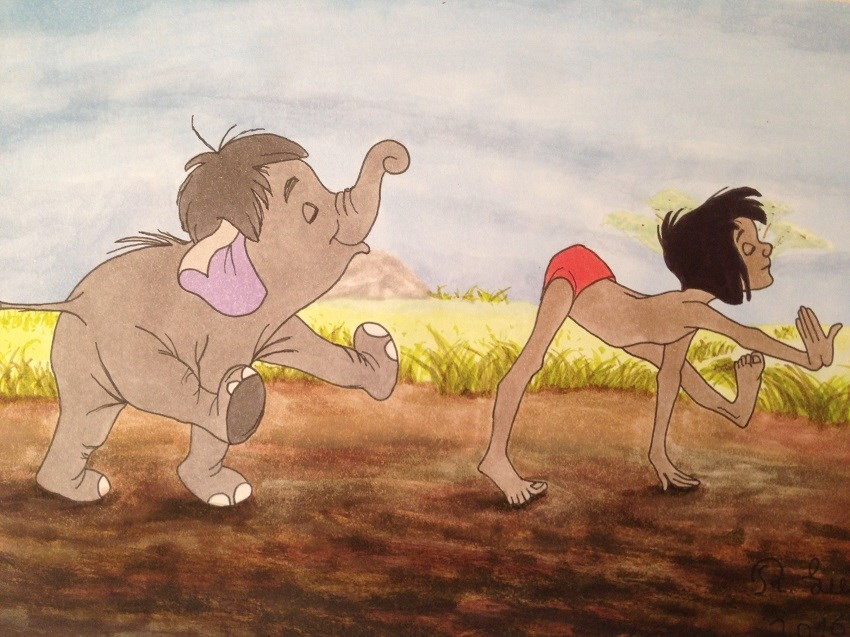 Mowgli (The Jungle Book, Disney, 1967)
More on colors, you can find in my guide on how to mix colors.
What type of paper sheets should you use?
For painting with markers, it is best to use non-absorbent paper sheets.
When painting with a dry medium, like colored pencils or pastels, paper sheets for drawing and sketching are a better solution.
Here is my guide and review for drawing paper brands.
Still struggling with which color to choose?
It is possible to use ANY image-editing program (like Adobe Photoshop or Paint.net) and utilize the color picker tool to check for the exact color.
Filling a large area with the chosen color helps in seeing the correct hue, value, saturation, and temperature.
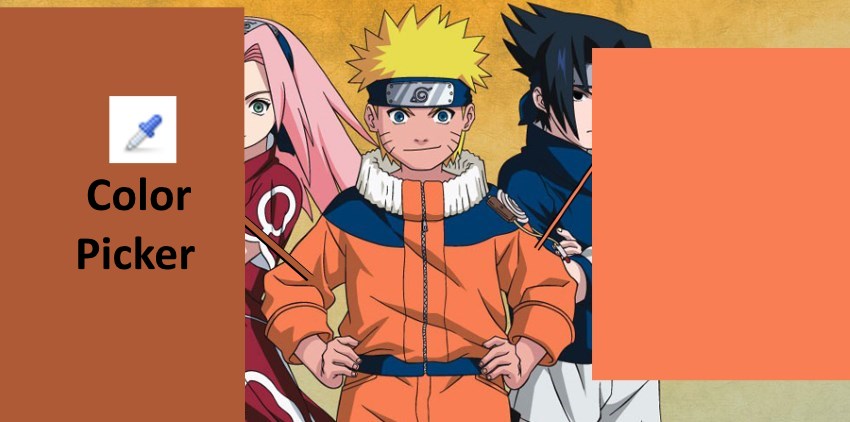
Next, use a marker with the same color.
 Sakura, Naruto and Sasuke
If you are new to markers, here is my list (and guide) for recommended markers for artists.
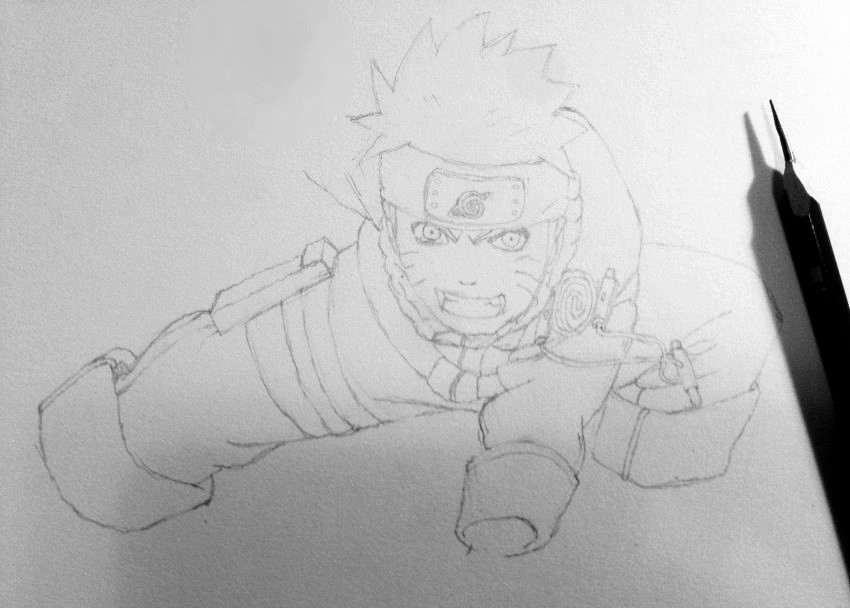
Examples for Inking and Coloring
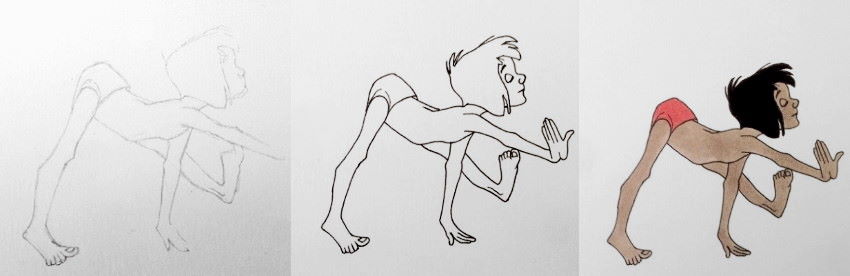
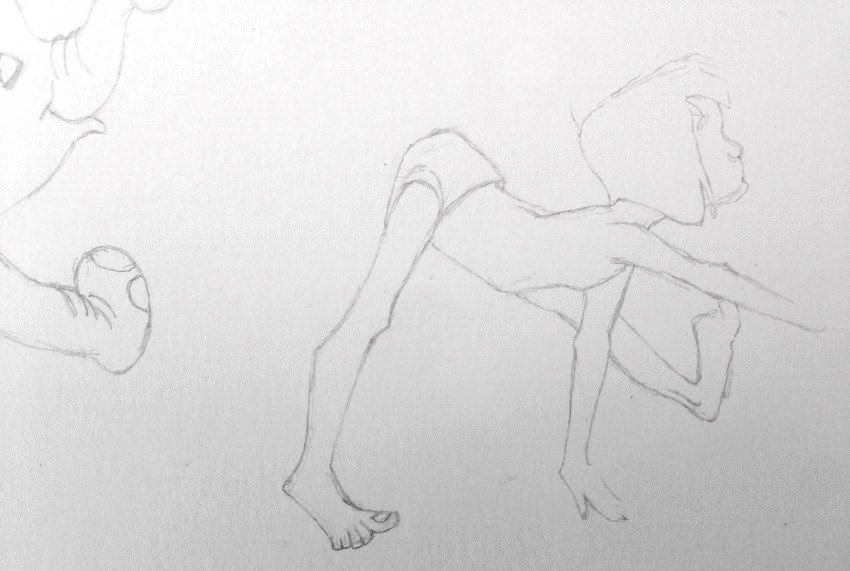
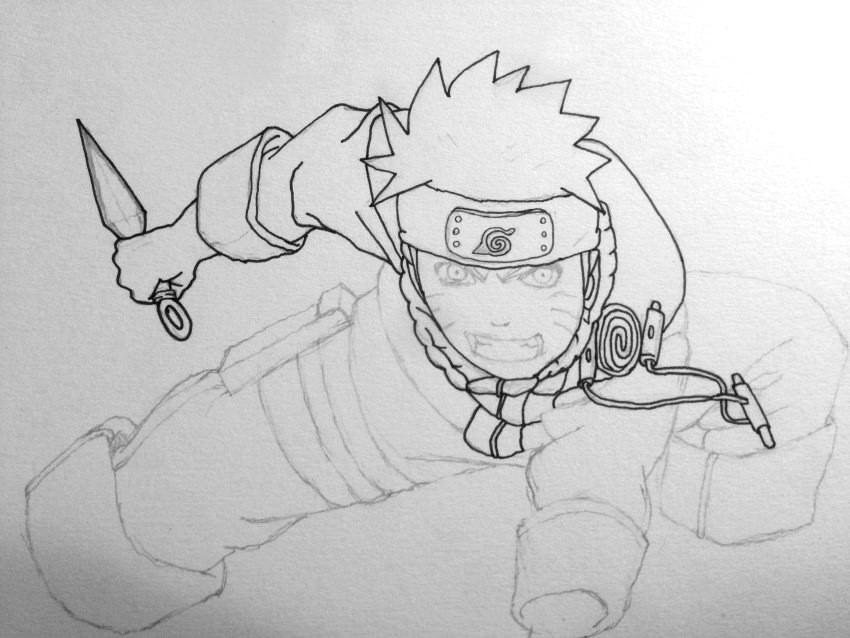
Step 1. Drawing from observation with a pencil.
Naruto:
Son Goku:
Step 2. Drawing with a technical pen (inking) on top of the pencil lines.
Then, erase the pencil lines (when the ink is dry).
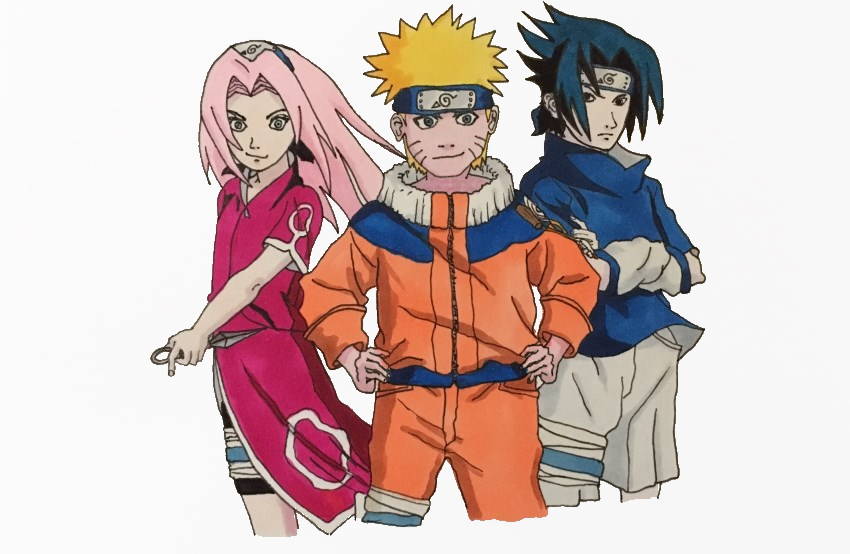
Step 3. Coloring with markers.
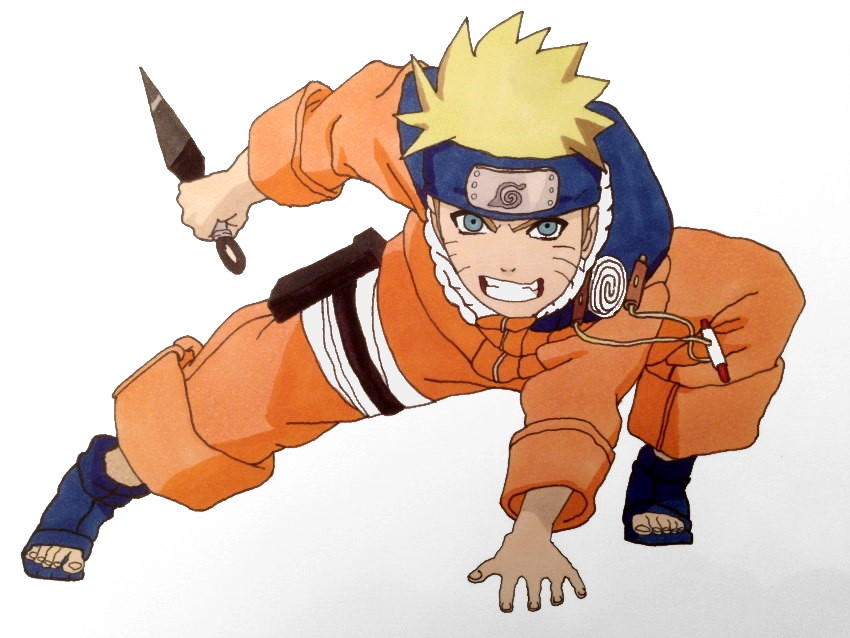
Paying attention to all color attributes (hue, brightness values, saturation, and temperature).
Painting the Background
With markers, it is hard to reach a smooth texture for a large area because the markers dry fast.
Different marker brands (and different types of paper) produce different results.
It is a good practice to divide an area into smaller areas by adding objects like trees.
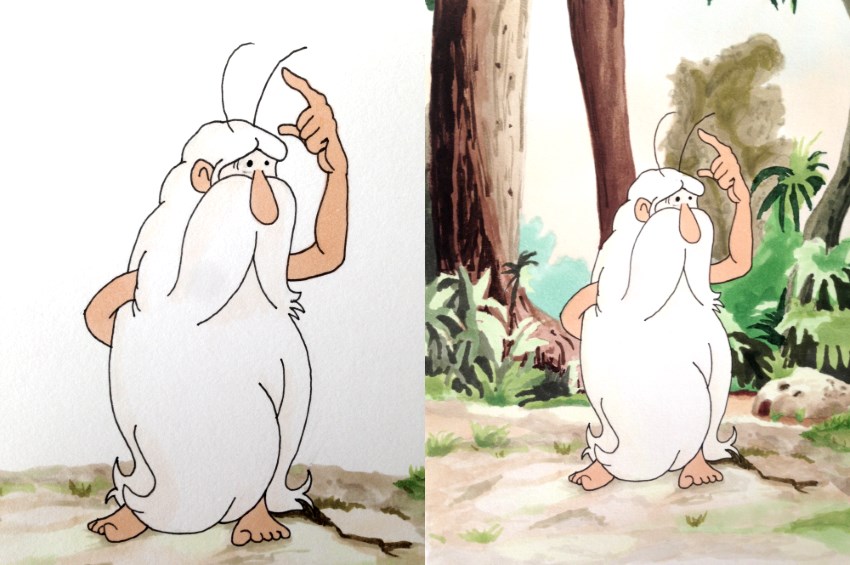 Maestro (Once Upon a Time)
It is better to use a paper suitable for markers, especially when using water-based markers.
When using paper for drawing and sketching, alcohol-based markers work better than water-based markers.
How to paint the sky with markers?
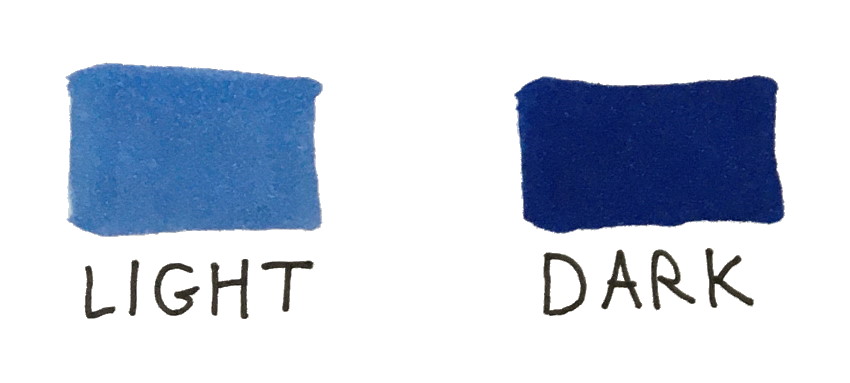
For drawing clouds, start by painting the sky (which is darker); leave empty areas for the clouds.
Then, use lighter markers (for clouds) on top of the darker areas (sky) to gently create a smooth transition from dark to light (clouds have soft edges).
Usually, as you get closer to the horizon, the sky gets lighter. If you are unfamiliar with atmospheric perspective, visit my perspective-drawing guide.
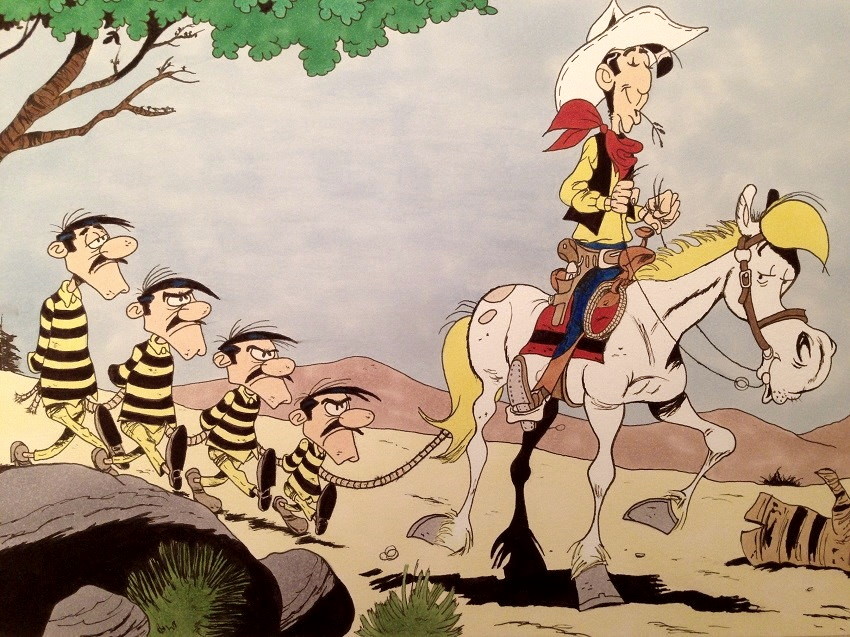 Lucky Luke
Summary
With practice, you can draw anything accurately, which is important for realistic drawing.
Keep in mind:
Cartoon characters have outlines (contours).
When drawing realism, there are no visible lines.
If you want to learn how to draw realism, drawing cartoon characters from observation is a great way to practice accuracy.
Where to go next?
After drawing from observation, you can learn how to draw from imagination.
Here is my drawing of an imaginary scene from Alice in Wonderland.
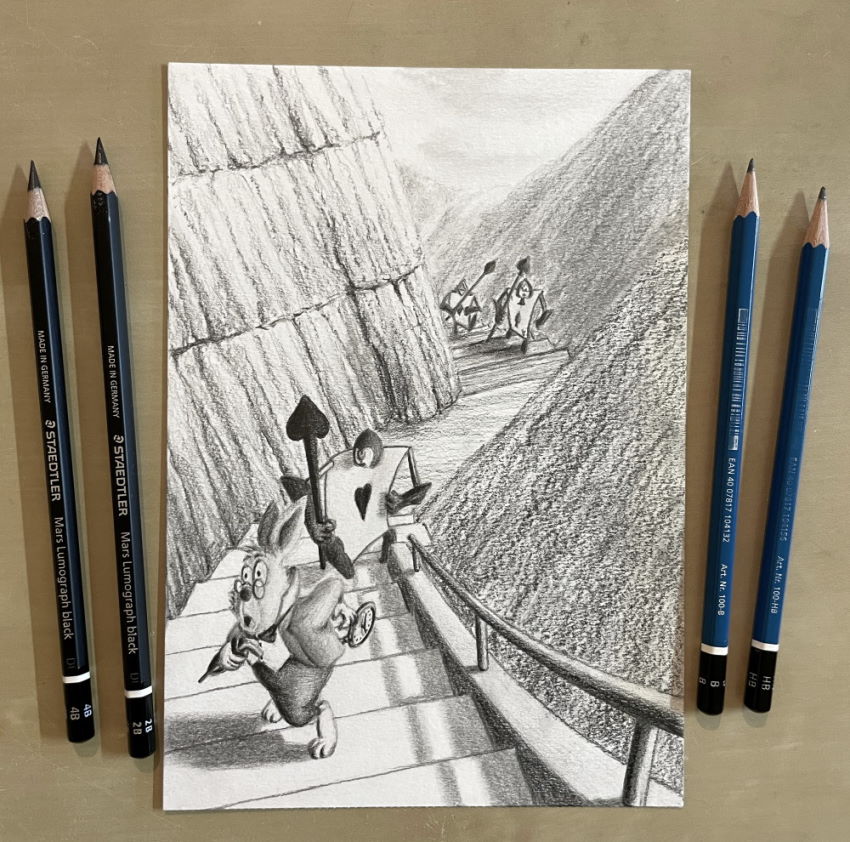
To understand depth when drawing, read about the 15 methods to draw the illusion of depth.